Build the ultimate dev environment using Windows 10 + Linux Subsystem + Hyper + Zsh + Oh-My-Zsh
I’ve been a Linux user for a long time, I’ve also been a Windows user for a long time. I’ve picked the best OS for the job at any given time and always had access to systems that were setup to dual boot. Dual boot is great, you almost have the best of both worlds but there is a lot of context switching involved since at any given point you can only run a single OS. In this post I’m going to talk about how to setup Linux Subsystem on Windows 10 and integrating it with Hyper (Let’s face it, the Windows terminal SUCKS!).
But my sales pitch isn’t over yet, here is a little demo of what you’ll have at the end of the article.
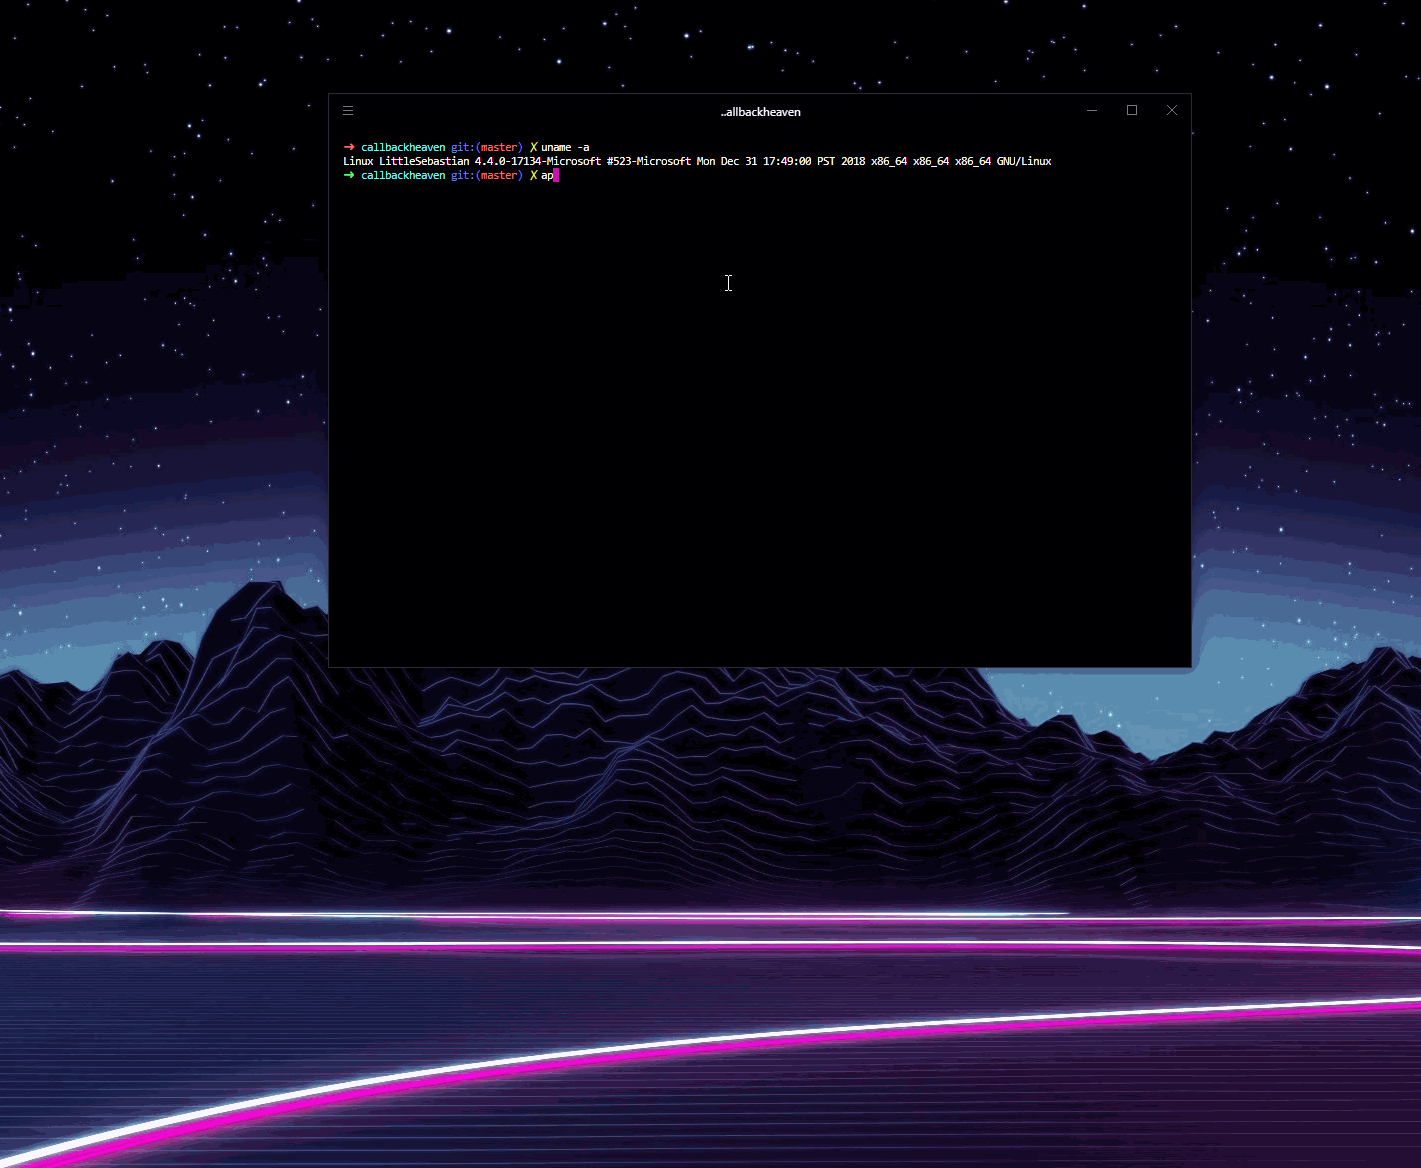
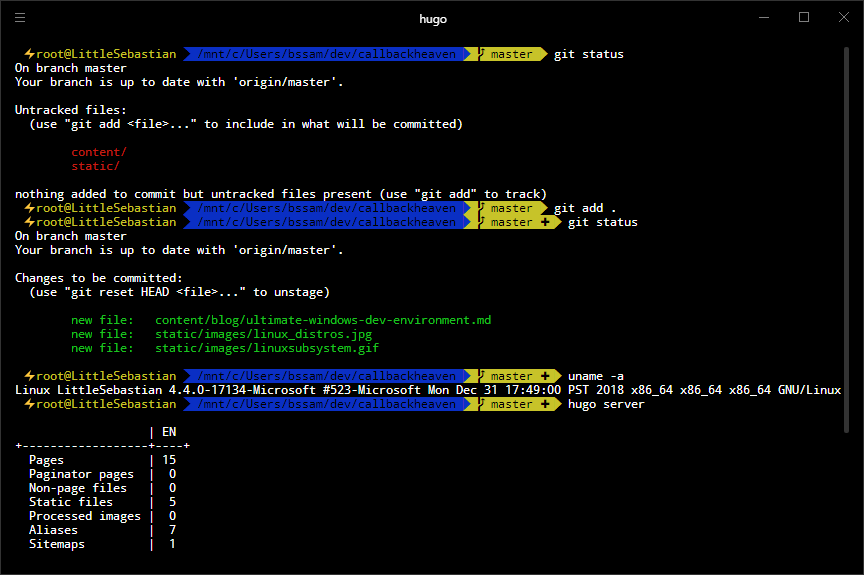
Here’s what happened in the video. In a single terminal window I was able to execute uname -a which is a Linux command and use apt-get which is a package manager for linux, I was also able to execute dir which is a Windows command and launch a Windows 10 GUI application by executing explorer.exe, I was able to do all this running in a single terminal window. If you’d like the exact same or similar setup, read on!
Install Linux subsystem for Windows 10
If you are running the Fall Creators update for Windows 10 or later, you should be able to head over to the Microsoft Store and download the Linux distribution of your choice. I currently have Ubuntu setup on one of my machines while one of my machines is running OpenSuse Leap. At the time of writing this article the following distributions are available in the Microsoft Store.

After installing your distro of choice, you should be able to lunch it directly, and it will throw you into the distro container. But the terminal window looks like its from the 90s (Because it is!). Next step is to install Hyper and configure it to run bash.
Pro tip for using Linux subsystem for Windows, your entire C:\ directory is mounted to /mnt/c/, this unifies your filesystem access. I have aliases setup to quickly jump into folders I care about eg. C:\Users\Sameer\dev or C:\Users\Sameer\Downloads.
Install Hyper
I hate the idea of running a Electron based terminal but honestly if you are running Windows you don’t have a lot of options to choose from. You can find Hyper here and once you are done installing it, you should be able to use your default cmd.exe through it. All you need to do now is point Hyper to bash (Eventually we will swap out Bash with Zsh).
Open your .hyper.js file and add/update the following property.
shell: 'C:\\Windows\\System32\\bash.exe',
I must make a honorable mention to ConEmu, its a pretty neat terminal that you could opt for instead of Hyper. Since its not an Electron app it feels a lot more snappier and is low on system resources.
Install Zsh
Now its time to get Zsh and replace bash, depending on your distro of choice you can find a Zsh package for most distros. If you are running Ubuntu you can run
sudo apt-get install zsh
Now its time to set Zsh as your default shell
sudo chsh -s /bin/zsh
Once you close and re-open Hyper you should be prompted by the Zsh shell now. So long, bash!
Install Oh-My-Zsh
Now let’s install Oh-My-Zsh, the instructions are available here. Oh-My-Zsh gives you the ultimate Zsh experience within seconds. It’s customizable and contains themes/plugins. If you’re too lazy to go to their wiki, and are daring enough to run a random script you found on the internet, hit yourself with this command.
sh -c "$(curl -fsSL https://raw.githubusercontent.com/robbyrussell/oh-my-zsh/master/tools/install.sh)"
Voila! You should have a full functional zsh shell up and running within Windows!
Install Powerline fonts (Optional)
I’m a huge fan of Powerline, and the zsh theme of my choice Agnoster requires powerline fonts. Head over to their GitHub project for installation instructions.
Once its installed, you can open your .hyper.js file and set a powerline font as default. My font of choice is “Noto Mono for Powerline”
fontFamily: '"Noto Mono for Powerline", Menlo, "DejaVu Sans Mono", Consolas, "Lucida Console", monospace',
Conclusion
There you go, you have a Windows + Linux development environment running in a pretty customizable terminal backed by a powerful shell. Here is the final product. The Linux subsystem is a Linux container, so you can install all your dev tools in there, everything from git to jdk to kubectl. Your ports are forwarded out of the box too! So if you are running a webserver within the subsystem you can easily open up a browser in Windows and head to https:localhost to access it!